Wednesday, February 5, 2014

Mechanical Energy Mouse Trap

Our class was taken over by mice today!!!

:)

Ok, they weren't REAL mice--we just played the game mouse trap! (If they were real mice, my students would have seen a WHOLE new side to Mrs. Newberry!)
To begin, I taught a lesson on mechanical energy. The students took notes from a PowerPoint presentation.

Mechanical energy: the total energy of an object due to its motion and position (Also known as the total of all the potential and kinetic energy in an object)

My students then demonstrated mechanical energy by playing the board game, "Mouse Trap". I bought one game, and then borrowed two more so that more students could play. They were in groups of about 6 or 7.

I took many pictures!


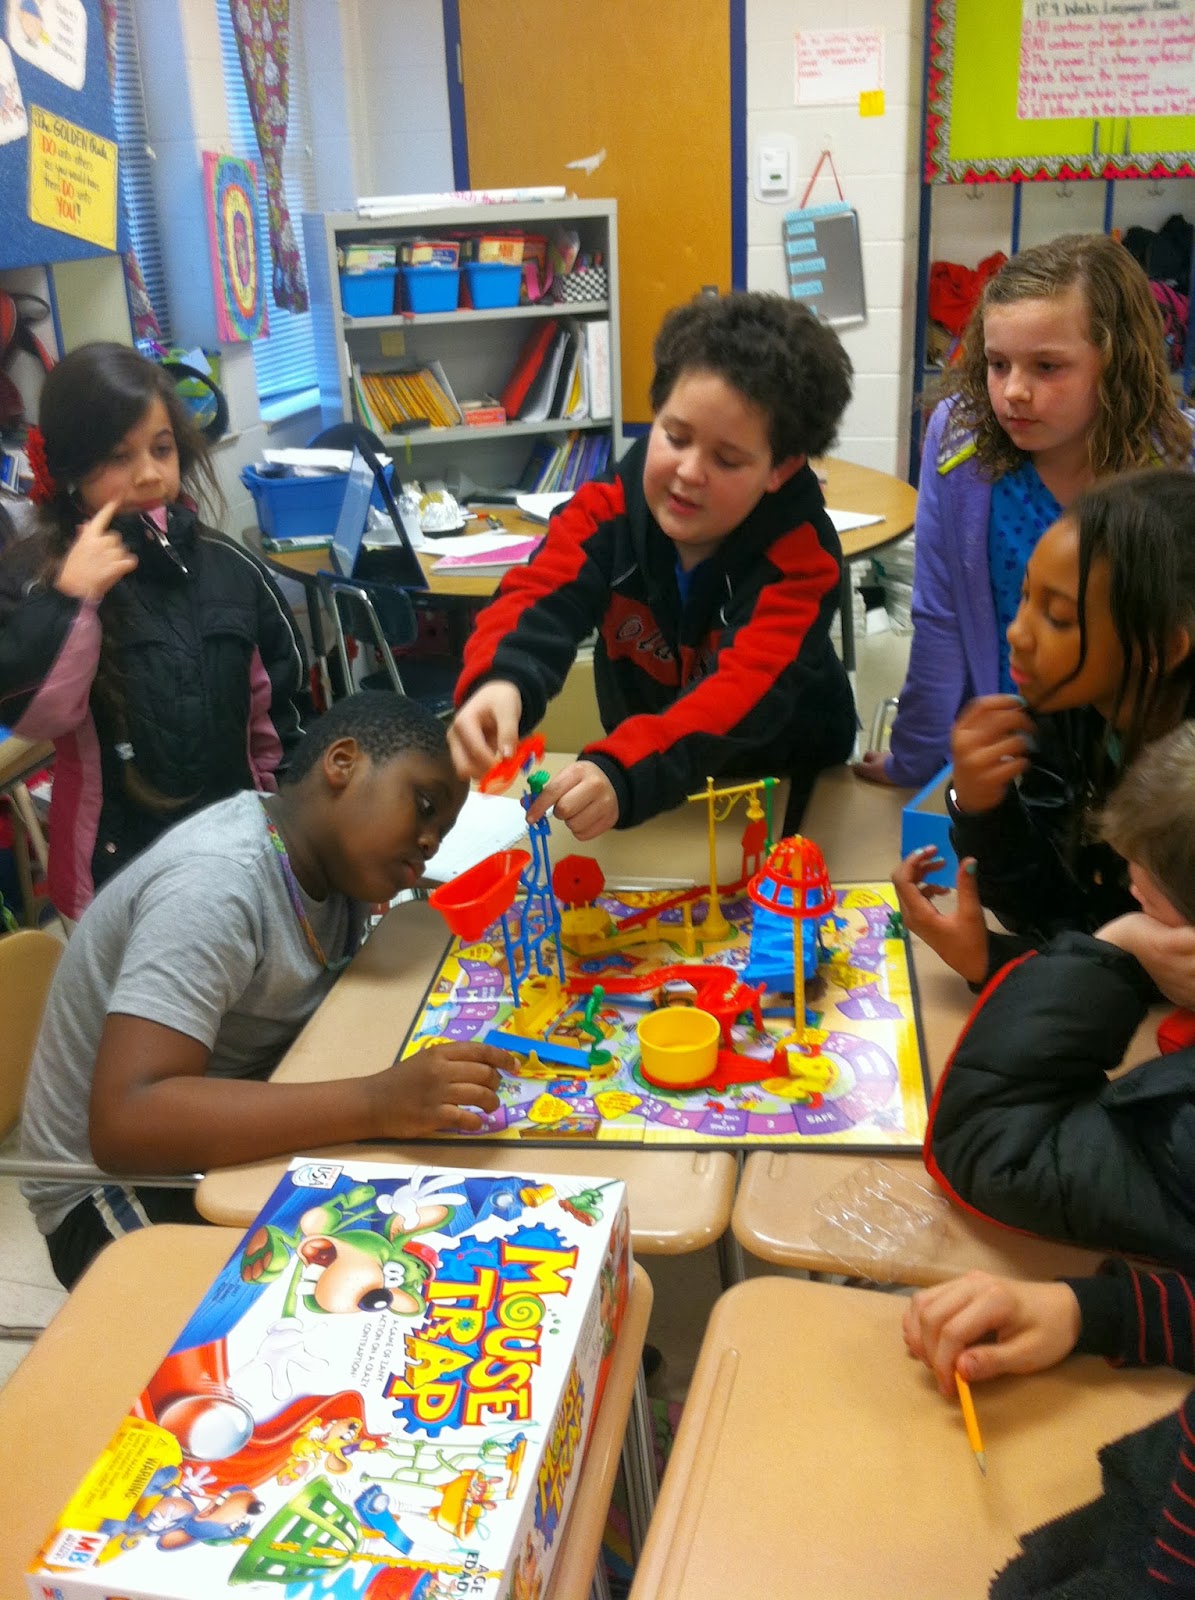
One of the cool things about this lesson was that it really showed me leadership qualities of students that I had never seen before. All I did was show them the instruction manual, and they had to figure out how to put it together and make the contraption work. They had to SYNERGIZE! This was a very fun day in Science class! Here are some videos of groups who successfully displayed mechanical energy through their contraption:
 

Tuesday, January 21, 2014

Potential... KINETIC!

During our unit on Forms of Energy, we learned about the difference between potential and kinetic energy.

Potential energy: stored energy
Kinetic energy: energy due to motion

First, we took some notes on potential and kinetic energy.
Next, we went out into the hallway and played "Potential, Kinetic". You might know it as, "Red Light, Green Light". :)


My students love anything that gets them up and moving! This was a great demonstration for the students of the difference between potential and kinetic energy. Hopefully these videos uploaded correctly. Enjoy!

Popcorn Lab

We have been discussing Forms of Energy the past few weeks. The students learned about the 3 different types of heat transfers: radiation, conduction, and convection.

Radiation: the transfer of heat using electromagnetic waves
Conduction: the transfer of heat through objects in contact
Convection: the transfer of heat through a moving liquid or gas

To demonstrate this, we did a lab with popcorn. First, we popped popcorn using radiation.

 
Pretty simple!

Next, we popped popcorn using conduction, and this one was pretty cool. Most of the students had never seen this done before:
It took FOREVER to pop, but when it did, it was pretty cool!
Then, my intention was to use a fellow teacher's air popper to demonstrate convection, but we weren't able to use it, so I just discussed how the process worked instead. :( Bummer!
 
The best part was that one class (the class with the highest average on the last test) got to eat their popcorn! :) That class especially had a blast during the popcorn lab.
 

Snow Day!

SO sorry I haven't updated in awhile! This lesson was taught before we got out for Christmas Break, and as you may know, those days can be just a little bit insane. Now I'm finally able to update our blog! No, we didn't have a day off of school---but we did make our own snow, so we called it a "snow day"! This experiment was SUPER easy, and it was a great demonstration of a chemical change that went along with the Christmas season.


Here are the materials:


-1 box of corn starch
-1-2 cans of shaving cream
-Glass bowl


Pour the whole box of corn starch in the bowl, and then add shaving cream. Mix with your hands until it can be molded into a ball. Easy, right? :)


We finished up this "snow day" by doing some fun formative assessment. :) Sounds like fun, right? Haha! I sprayed the students' desks with shaving cream and asked them questions about physical and chemical changes. They had to answer with a "P" or a "C" and write their answer choice in the shaving cream. It was LOTS of fun, and didn't get messy at all. (Note the sarcasm.)


Sorry this has taken me so long to post! Apparently Blogger was on the fritz on my desktop computer. :) Now there will hopefully be more frequent Science Shenanigans posts! :)


Thursday, December 5, 2013

Mayflower Balloon Boats

This post doesn't have much to do with what we are learning right now in Science, but it was a fun way to represent the pilgrims' voyage to the new world for Thanksgiving! To start with, I had the students save their milk cartons one day after lunch. Then we washed them out, cut them in half, and punched a big hole in the back like this:


 I then gave each student a balloon, as you can see. Then I rolled out the "Atlantic Ocean". :) On the right is England and Spain, and on the left is the New World.

 
Then we got set up to sail across the Atlantic. Two or three students at a time blew up their balloons inside the balloon boat and placed their boat in England (or close to it).

 
Next, they let go of the balloon and watched their "Mayflowers" sail across the Atlantic Ocean! Some of the boats didn't make it, but some were very successful! Here is a video: (I hope it works!)
 
 
I hope everyone had a great Thanksgiving! One thing I am for sure thankful for is these precious kiddos! :) It is such a blessing to get to spend time with these children every day.

Tuesday, November 5, 2013

You are my "density"... I mean, destiny...

Anybody else think of George McFly hitting on his future wife in Back to the Future when you hear the word density?

Ha! Ok, maybe it's just me. I digress.

...Anyway...

Today in our mass, volume, and density unit we discussed the concept of density.

Density is how tightly packed together matter is inside something.

I performed two experiments that were great displays of density--and cool experiments you can try at home also if you're feeling a little curious!


Experiment #1:  Sink or Float?

I started this experiment with one unopened can of diet coke, and one unopened can of regular coke. I got two assistants students to look at each can and tell me how many fluid ounces were in each can. Of course, both cans had 12 fl. oz., so we agreed as a class that both cans had the same amount of liquid inside them.
 
Next, I told the students that I was going to drop the cans inside a big bucket full of water. They made predictions about what would happen when both cans were dropped into the bucket.
Last, I dropped both cans into the bucket and........
VOILA! The regular Coke sinks, and the Diet Coke floats! We then inspected the nutrition facts of both cans to determine why this was.

Coke has 29 g of sugar, while Diet Coke has 0 g of sugar! We determined this sugar made the Coke more dense, and caused it to sink in the tub of water instead of the Diet Coke. :) Cool, right?


Experiment #2:  Layers of Liquids

This experiment began with a glass vase with a little bit of water inside. I then added various liquids to the glass to show the students which liquids were more dense than others. (The trick here is to pour the liquids so that they touch the side of the glass and slide down towards the water. If you pour the liquid in the middle of the water, they will mix and the experiment won't work!)

Liquids inside the glass: water (with red food coloring added), Palmolive detergent, AJAX detergent, corn syrup, and lamp oil


Here is the final result!
After the liquids were added, we had a discussion of which liquid was the most dense and least dense. The lamp oil was the least dense of all the liquids, and we discussed how oil and water never mix together. Then something MIRACULOUS happened. One of my students said this:
 
"Mrs. Newberry, it's just like the BP oil spill that happened in the ocean. The oil was just sitting on top of the water."
 
WOW! What an amazing connection to history! Of course, I had to take a little detour on my density lesson and take advantage of that teachable moment to share some information about the oil spill with my students. We read some facts in this book:
I love moments like that in the classroom! Today was a great day in Science class!  


Monday, November 4, 2013

Volume Lab

My students are still learning about mass, volume, and density. Today, we completed a volume lab.

Volume is the amount of space something takes up.
 
The students were instructed to walk around the classroom and find objects that could be measured by length, width, and height. That was the hard part--finding objects that were either perfect cubes or rectangular prisms! Some of them decided to put their rulers together to measure large objects, like filings cabinets and a Smartboard. :) Way to synergize, kiddos!

Here are some pictures of my students measuring the length, width, and height of objects around my classroom.


Afterwards, we went back to our desks and found the volume using the volume formula:

Volume = Length x Width x Height

This was a great lab to assess their understanding of VOLUME, but it was also great because they got to get out of their desks for awhile! That's always a plus. :)